How to do slow mo on CapCut? Easy Guide
Back in the past, it used to be a headache for the content creators around the world to make slow motion videos. In the past many years, numerous slow motion video editing apps came on the surface, but only a few of them were able to secure the trust of the content creators because of the complexity of the process But it is now a child’s play to add slow mo on capcut. In a few clicks, you can make an excellent slow motion video without any hassle. So, let’s learn how to do slow mo on capcut.
How to do slow motion on CapCut?
In this simple step by step guide, you will learn how to smoothly slow motion videos easily. You can either convert your entire video in the slow mo or only some parts of it.
Convert complete video in Slow mo on CapCut
If you want to add slow mo in capcut on entire video, it is very easy. In the following method, we will discuss how to do slow motion on capcut.
1- Open CapCut App
Open the CapCut app on your phone. If you haven’t installed it yet, you can download it either from PlayStore, or you can also download CapCut Mod Apk to use CapCut pro apk.
2- Add Project
Tap on the Add Project button on CapCut’s main screen to start making slow mo video.
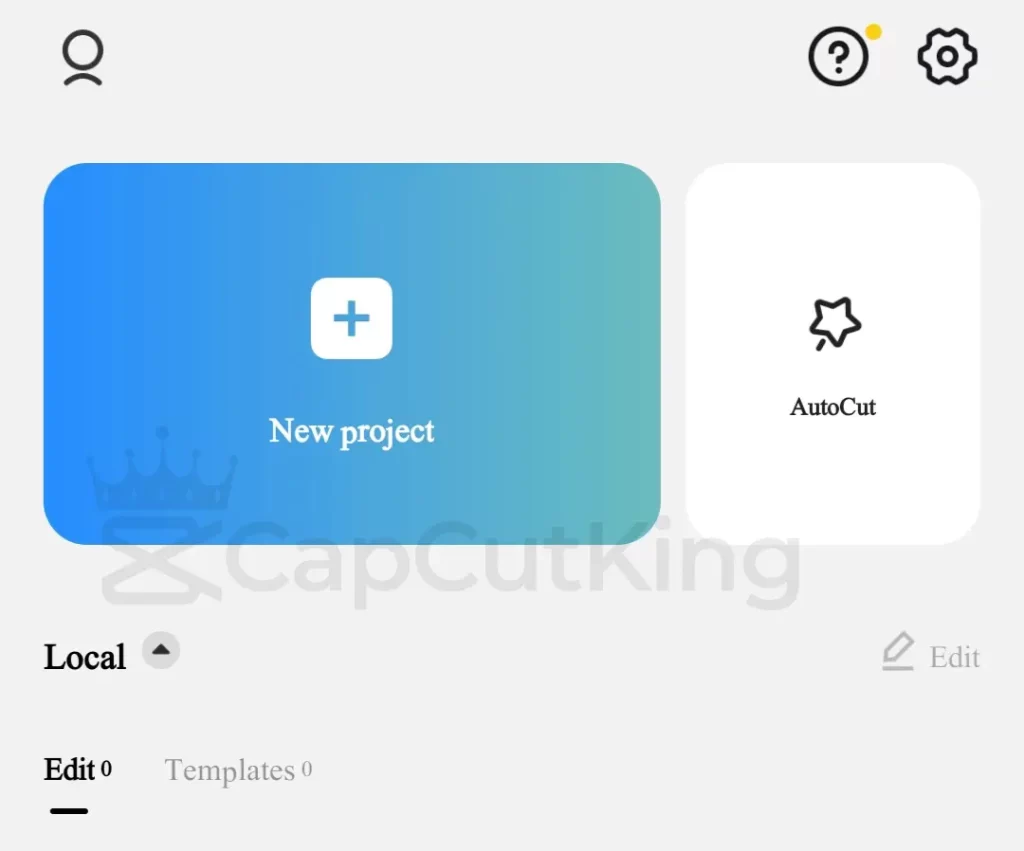
3- Add the Video
Add the video that you want to turn into a slow mo video. If you haven’t granted CapCut permission to access your media, it may require you to first grant this permission. Allow CapCut to browse your media. And select the video.
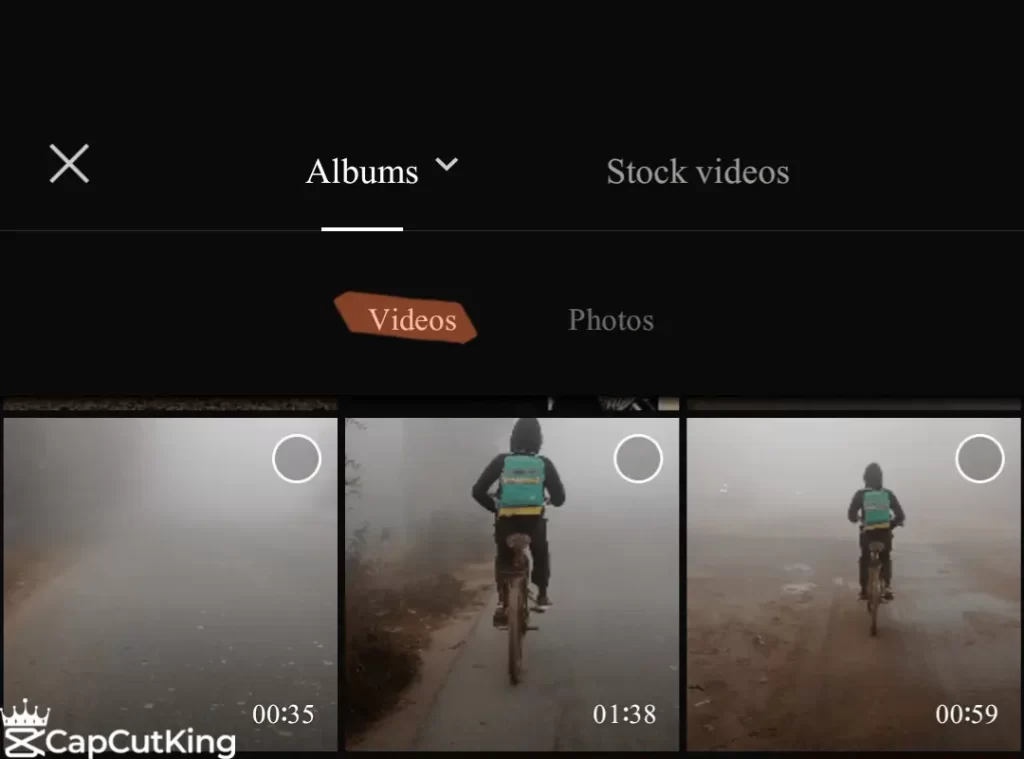
4- Select the layer
You will see your video, and below it, some layers will also be shown. Choose the layer that represents your video. Oce you select the layer, you will see many video editing options will appear at the bottom of the capcut interface.
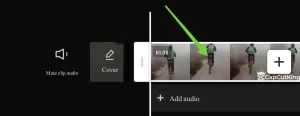
5- Tap Speed button
Now, find the Speed button from the various options being displayed at the bottom of the screen.

You will be presented with two options here;
- Normal
- Curve
6- Tap Normal
Since we want to slow down the video smoothly, tap on the Normal button.

You will see a scale with points starting with 0.1x and ending at 10x. Here, 0.1x means that at this point your video will be slowed down by ten times than the original speed. And 10x means that at this point your video will be sped up by ten times the original speed.
Since we want to make a slow mo video, we have to choose a point between 0.1x and 1x. I hope you understand that 1x is the actual speed of the video.
7- Choose the speed to do slow motion on CapCut
Choose any point from 0.1x to 1x and then watch the preview of this effect by playing the video.
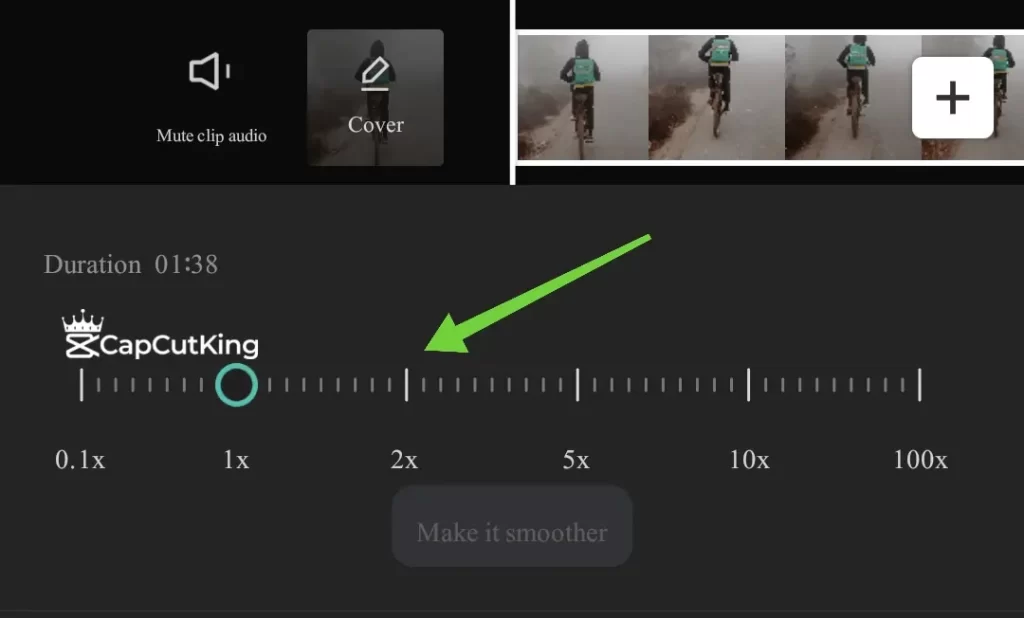
If you are satisfied with the slow speed, hit the okay button at the bottom right corner of the screen twice and then save your video to share slow mo video on TikTok, Facebook or Youtube. That’s how you do slow mo on CapCut easily.
Convert some parts of the video in slow mo on CapCut
In the above method, we learnt to make the entire video into slow mo video. But some users may also like to slow down only a small portion of the video. This is also very easy, with only a few extra steps.
There are two methods to convert only some parts of the video into slow motion.
- Split the Video
- Curve Speed Editing
Method 1: Do slow mo on CapCut by Splitting the video
If you want to make only a small part of the video into a slow mo video, here are the easy steps.
1- Tap the layer
Tap the layer that represents your video.
2- Split the video
Split apart that part of the video that you want to slow down. If you don’t know how to split a video, here is a quick guide;
How to Split a video?
Drag the video to the point from where you want to start slow motion. And tap on the Split button.
Drag the video to the point where you want the slow motion to end, and tap the split button again.
3- Select the splitted clip
Now you can select the part that you have split from the video. You can select this part independently, and do slow mo on CapCut using the method mentioned earlier. But there is a drawback to this method.
When you split a video and change a small part of it into slow mo, it looks really bad when you play it. So, you have to either add some transition or be tactful to split it in a way that it doesn’t look odd. Another way to smoothly transition in some parts of the video into slow mode and then transit out into the normal mode is to use the Curve method.
Method 2: Do Slow mo on CapCut by Curve Speed Editing / Velocity Editing
We have published a complete tutorial in which we have elaborated how to do velocity in CapCut. Editing velocity means that you can increase or decrease the speed of the video. But since, we are discussing how to do slow mo on CapCut in this article, let’s jump to that.
Remember the part where we selected the Normal method to slow down the video? This time, we will be using the Curve method.
1- Tap the Curve button in Speed.
In the previous methods, you tapped NORMAL button in the speed menu. In this method, we have to apply a different method to do slow motion on CapCut. So, now you have to tap on the curve button.

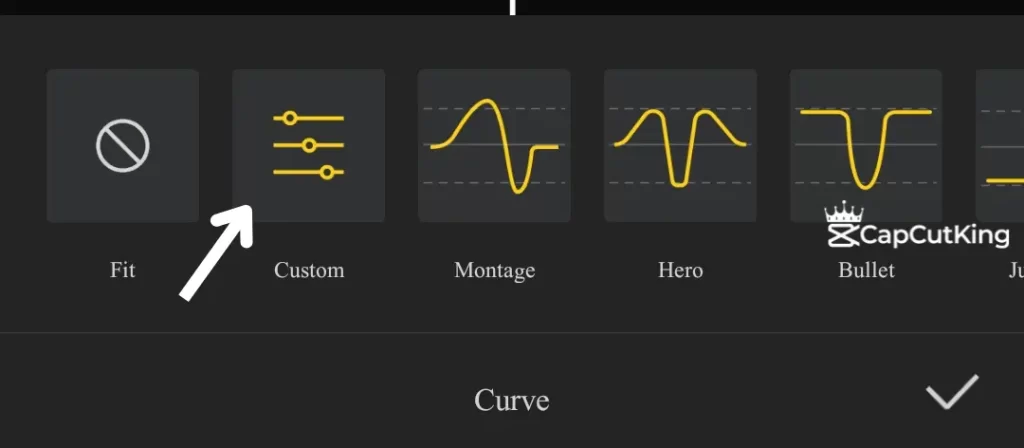
2- Tap the Custom Button
You will see numerous speed editing presets here added by team CapCut by default. You are not using any of these presets right now.
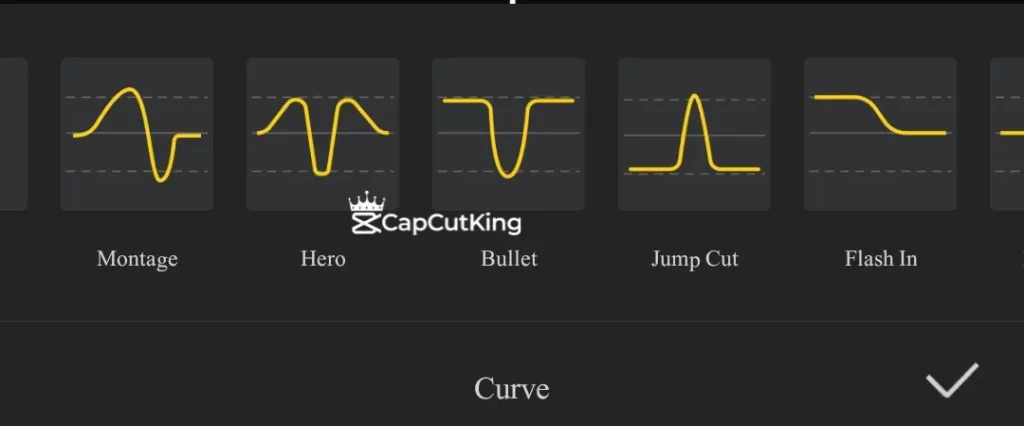
Rather than choosing any speed editing presets, you will tap on the Custom button. Then again tap it to Edit the speed.
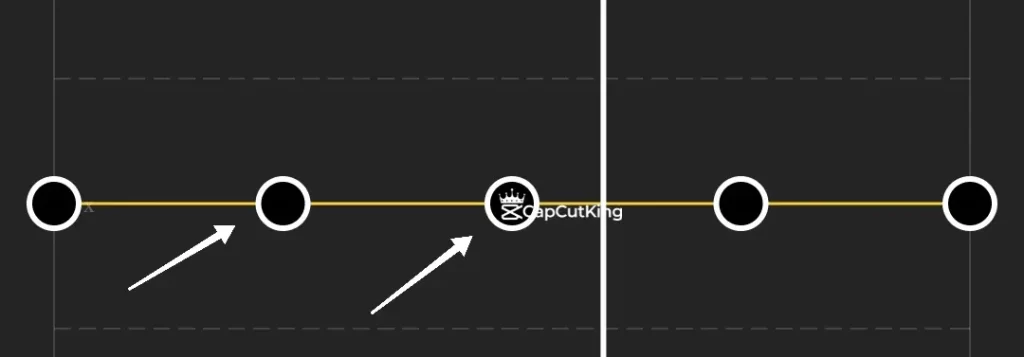
You will see a line with almost five round dots. These dots are also called beats and they represent Five Points in the video from where you can slow the video, or you can increase the speed of the video.
You can also increase these beats by hitting the Add Beat button, according to your need.
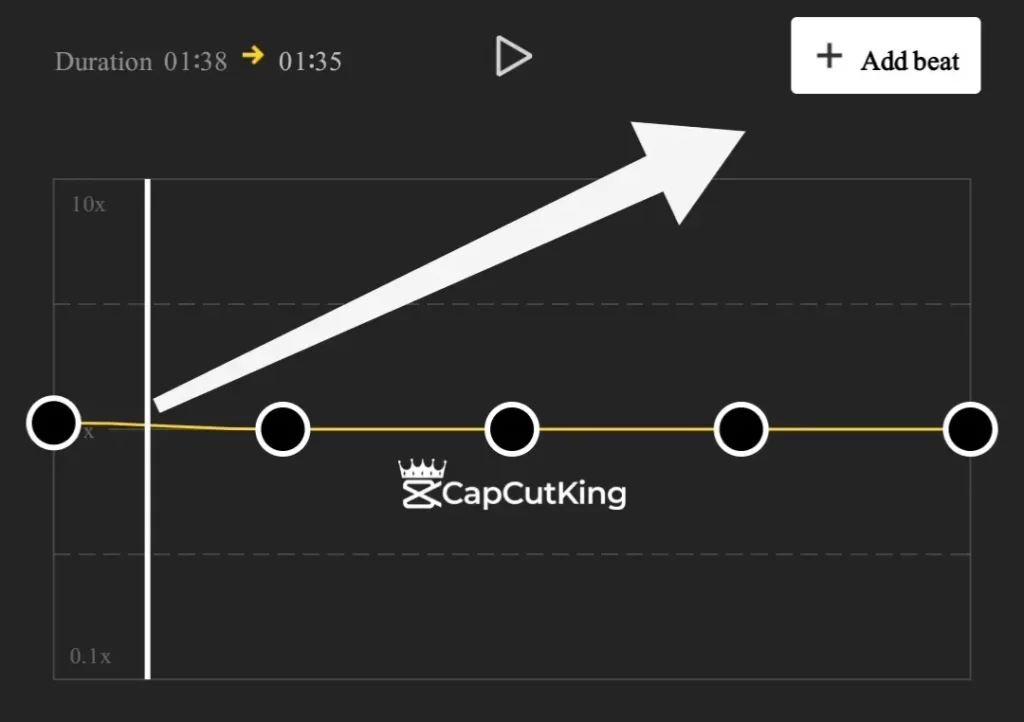
3- Adjust Beats for slow motion video
Now, you have to drag the beats below the line. You can drag them to 0.1x which means that by this point, the video will be slowed down ten times the original speed. So, at those moments where you want the video to slow down, drag the beats from 1x to 0.1x , whatever level suits your video.
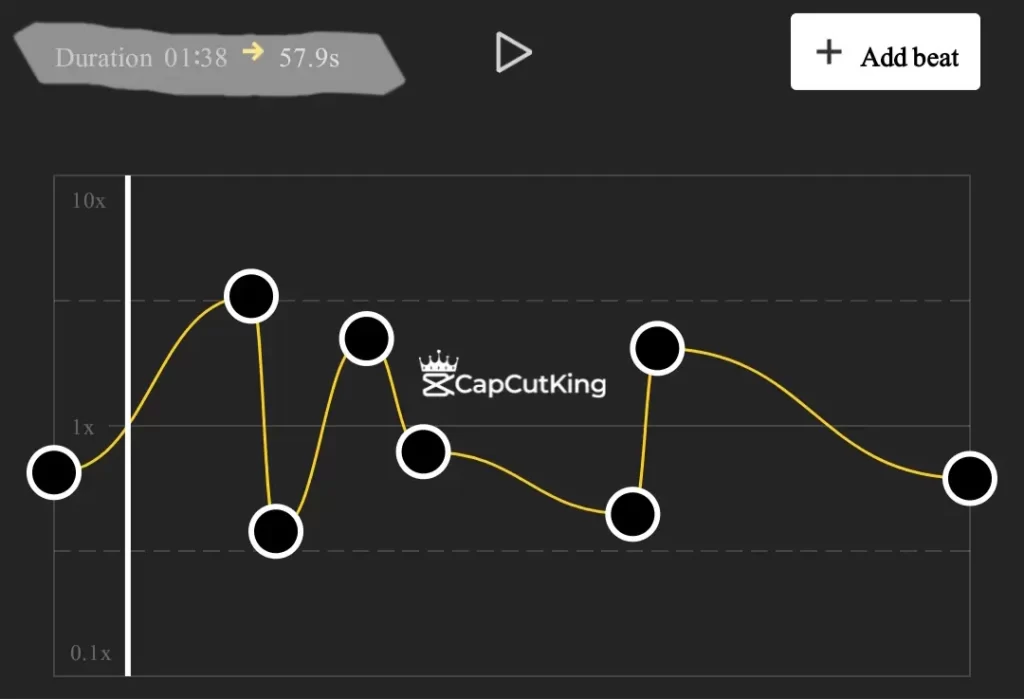
You can see in the above picture that we have added many beats and adjusted them. At those points where beats were dragged above 1, speed of the video will increase, and at those points where the beats were dragged below 1, slow mo effect will be applied.
You can check the impact of your editing by playing the video preview.
Once you are done, you can simply press the Done button from the bottom right corner of the screen twice.
This will bring you to the main CapCut screen. Save this video to use it subsequently.
So, now you have learnt all methods of how to do slow mo on Capcut. We hope you enjoyed it.
Frequently Asked Questions:
Here, we have tried to answer the frequently asked questions about Slow mo videos.
Final Verdict
It is very easy to do slow mo in CapCut. The process is smooth, without any complication and just a few clicks away. CapCut has simplified creating Slow Motion videos, and this process has been elaborated step by step in this article.

